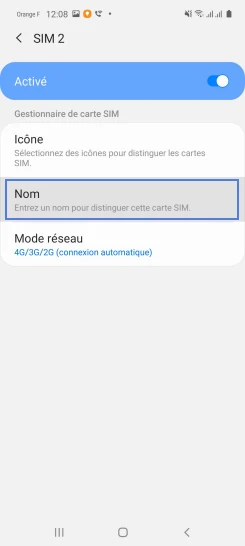
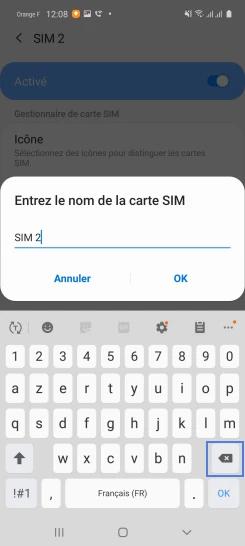
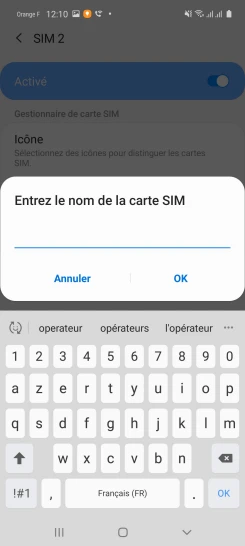
SAMSUNG Galaxy A51
Nommer une carte Sim
10 étapes
Débutant
Nommer une carte Sim
10 étapes
Débutant
-
Balayer l'écran du bord bas vers le haut pour accéder aux Applications
-
Sélectionner Paramètres
-
Aller sur Connexions
-
Choisir Gestionnaire de carte SIM
-
Aller sur la SIM à personnaliser
Dans notre exemple, sélectionnez SIM 2.
-
Sélectionner Nom
-
Effacer l'information avec la touche dédiée
-
Personnaliser l'intitulé à l'aide du clavier virtuel
-
Valider avec OK
La carte est renommée.
-
Presser la pointe de flèche pour revenir sur l'écran initial
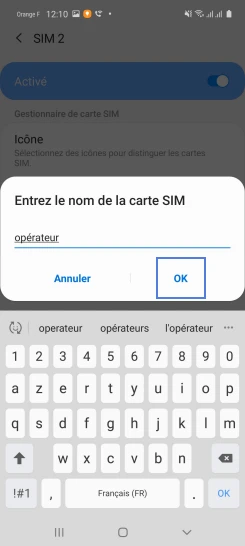
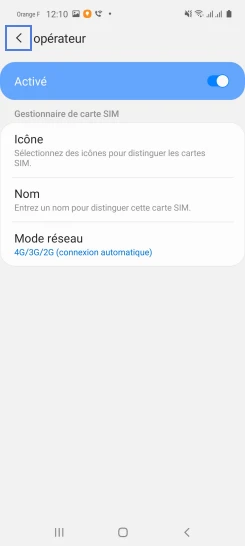
Bravo ! Vous avez terminé ce tutoriel.
Découvrez nos autres tutoriels