FAIRPHONE 2
Ajouter un contact dans le répertoire en 7 étapes difficulté

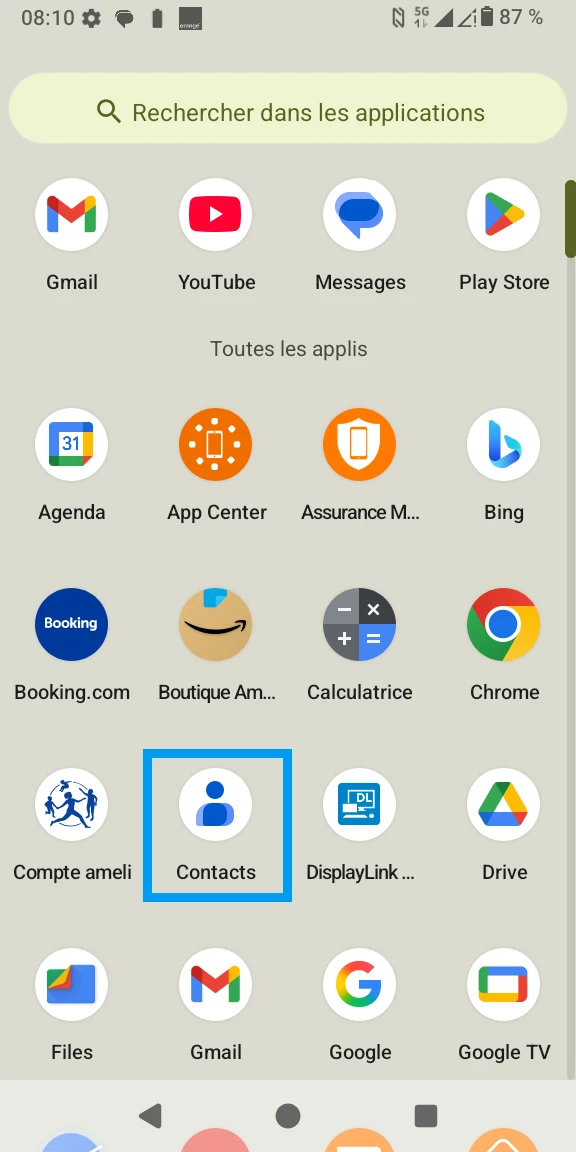
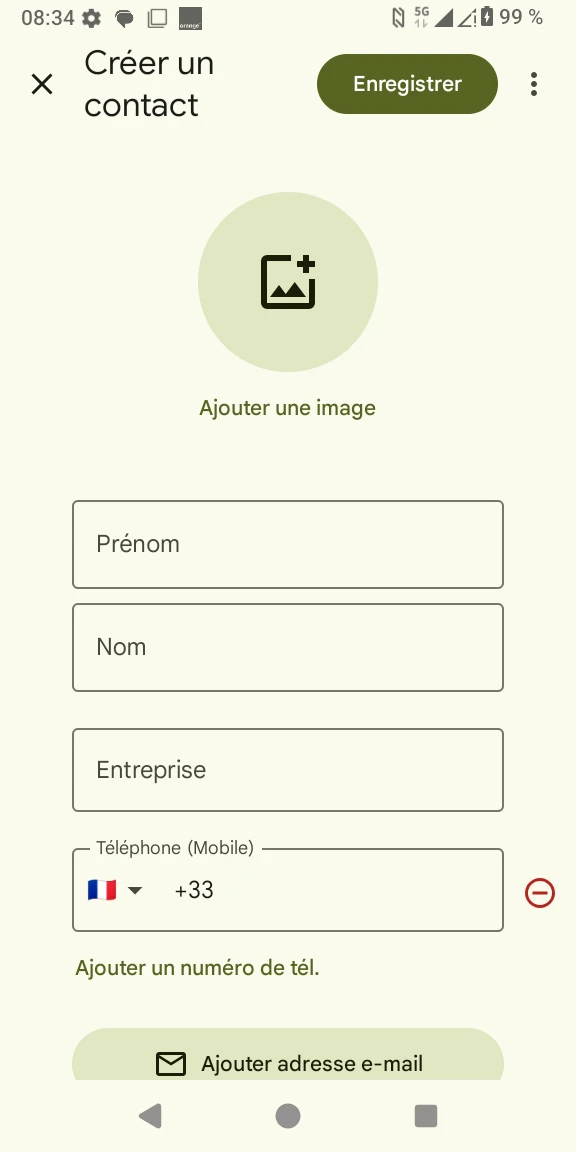
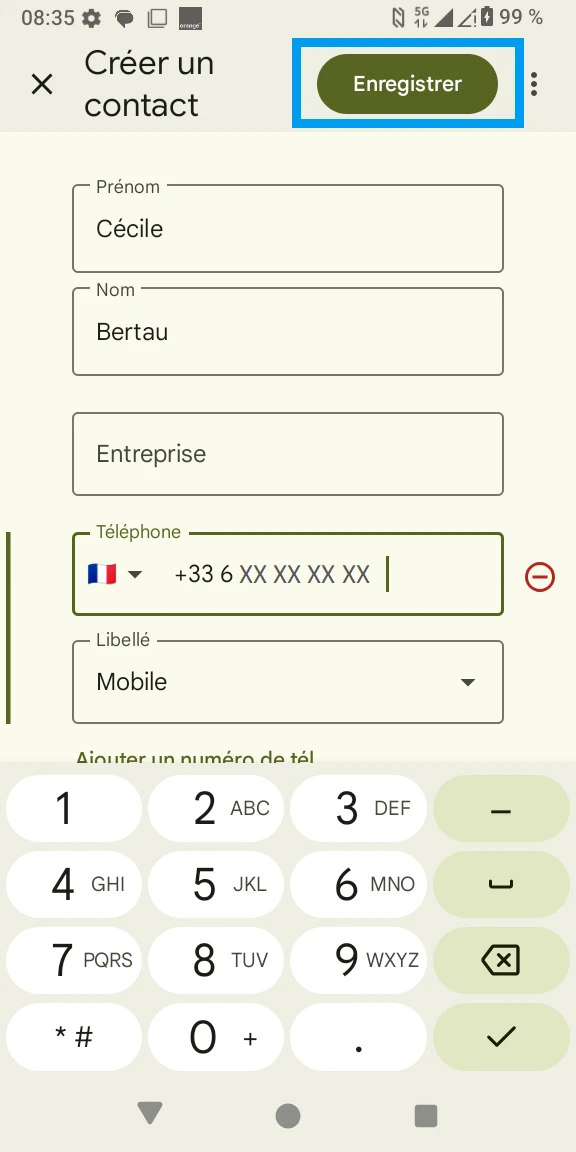
Ajouter un contact dans le répertoire
7 étapes
Débutant


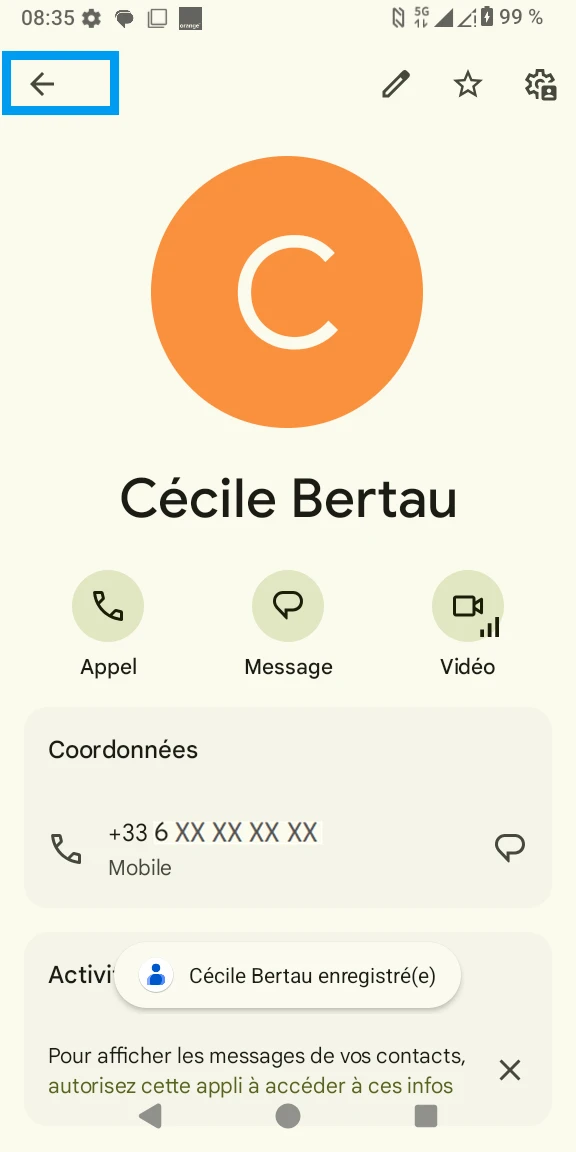
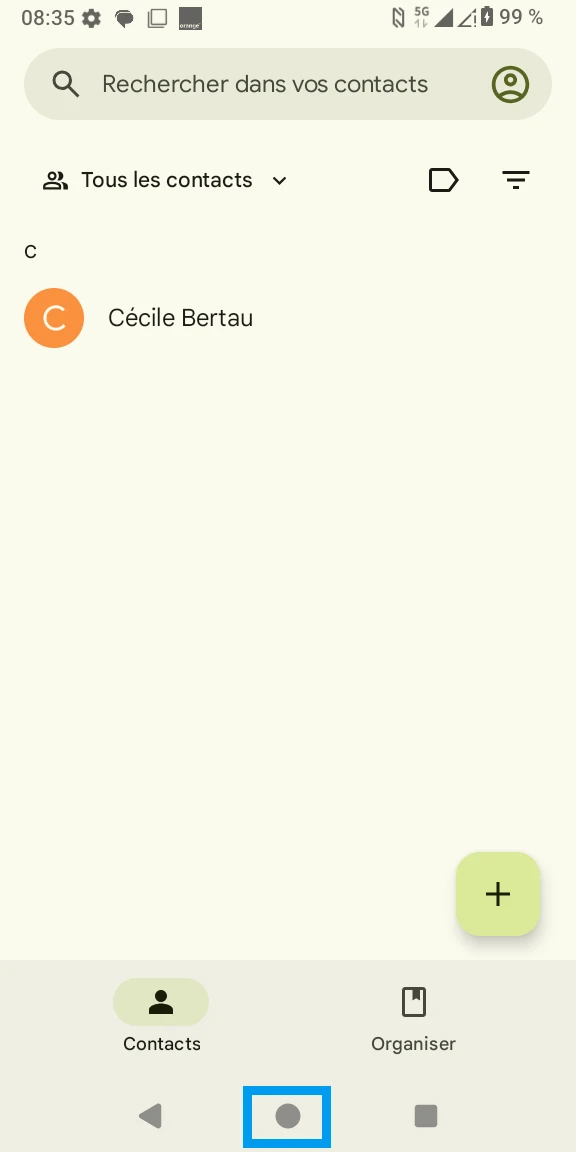
Bravo ! Vous avez terminé ce tutoriel.
Découvrez nos autres tutoriels